
Unity Integration Plugin
OSP Unity Tool
To make the integration of OSP in Unity easier, we developed a group of scripts that allows the developers to add, remove, and manage Product IDs, and to place a button in Canvas with the OSP system implemented.
Video guide
Please note that some images from the video may be outdated due to periodical updates of the plug-in.
Installation
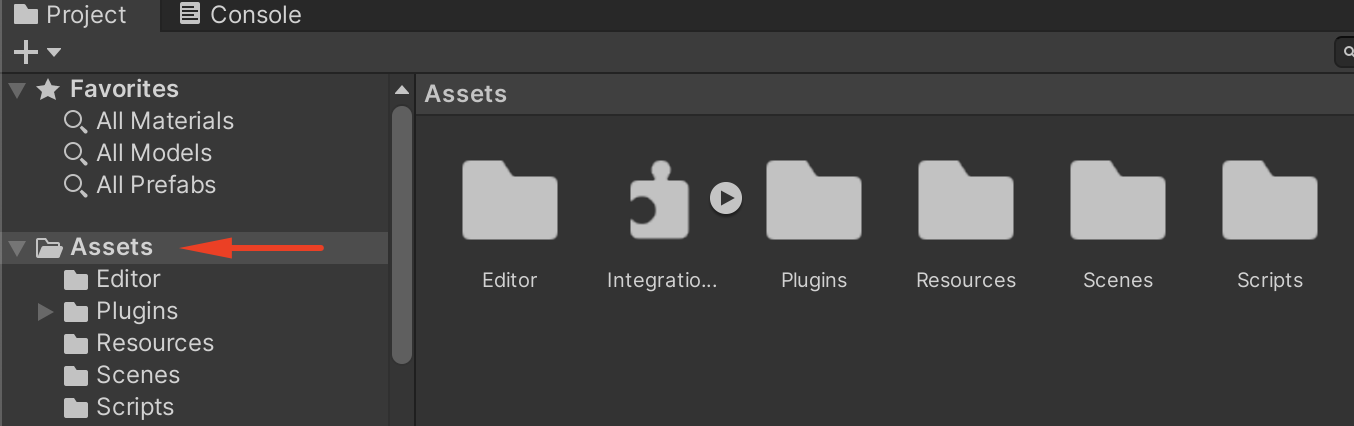
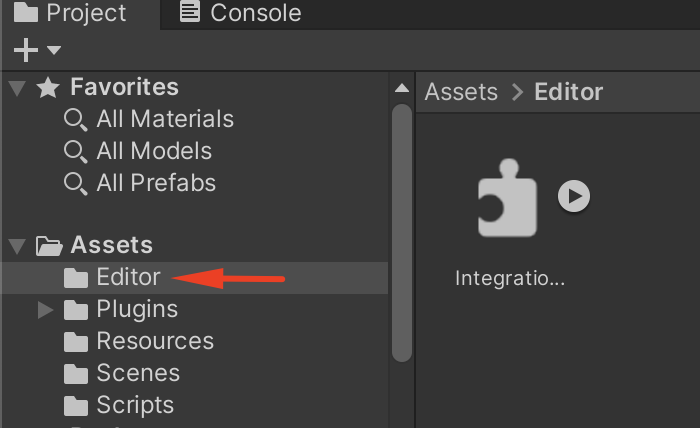
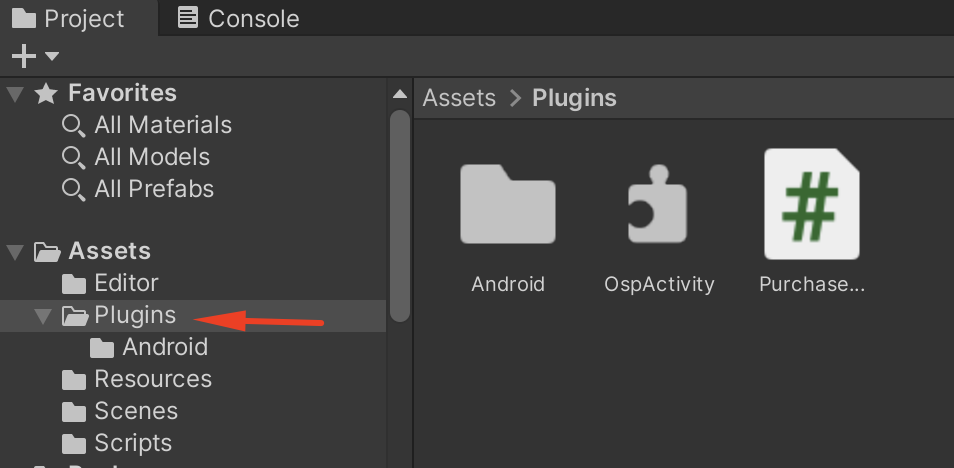
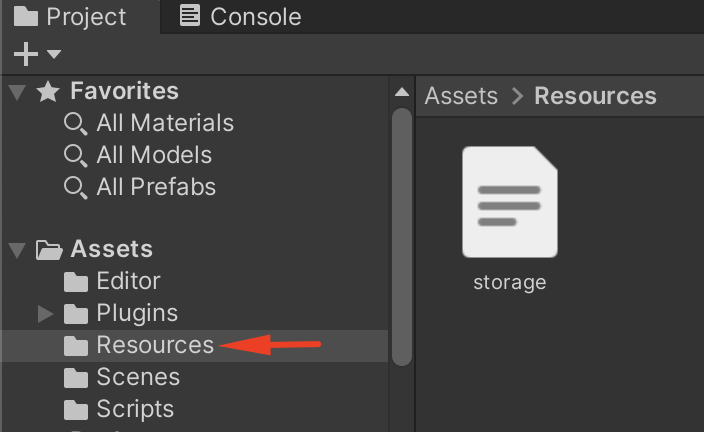
To use the scripts in Unity you need to download them here. The tool has multiple scripts that work together and need to be placed inside the folders Editor, Plugins, Resources, and Scripts:
- Editor
- IntegrationPluginCompiledEditor.dll
- Plugins
- Purchase Manager.cs
- OspActivity.kt
- Android
- Resources
- storage.json
- Scripts
- SetUid.cs
- ShowSkuPrice.cs
- Assets
- IntegrationPluginCompiled.dll

Usage
Under the tab Services on the top bar of the editor you will find two options:
- Add OSP Button - Add a button to canvas that executes the OSP flow when clicked.
- OSP Catalog - Open a window to manage OSP configuration.

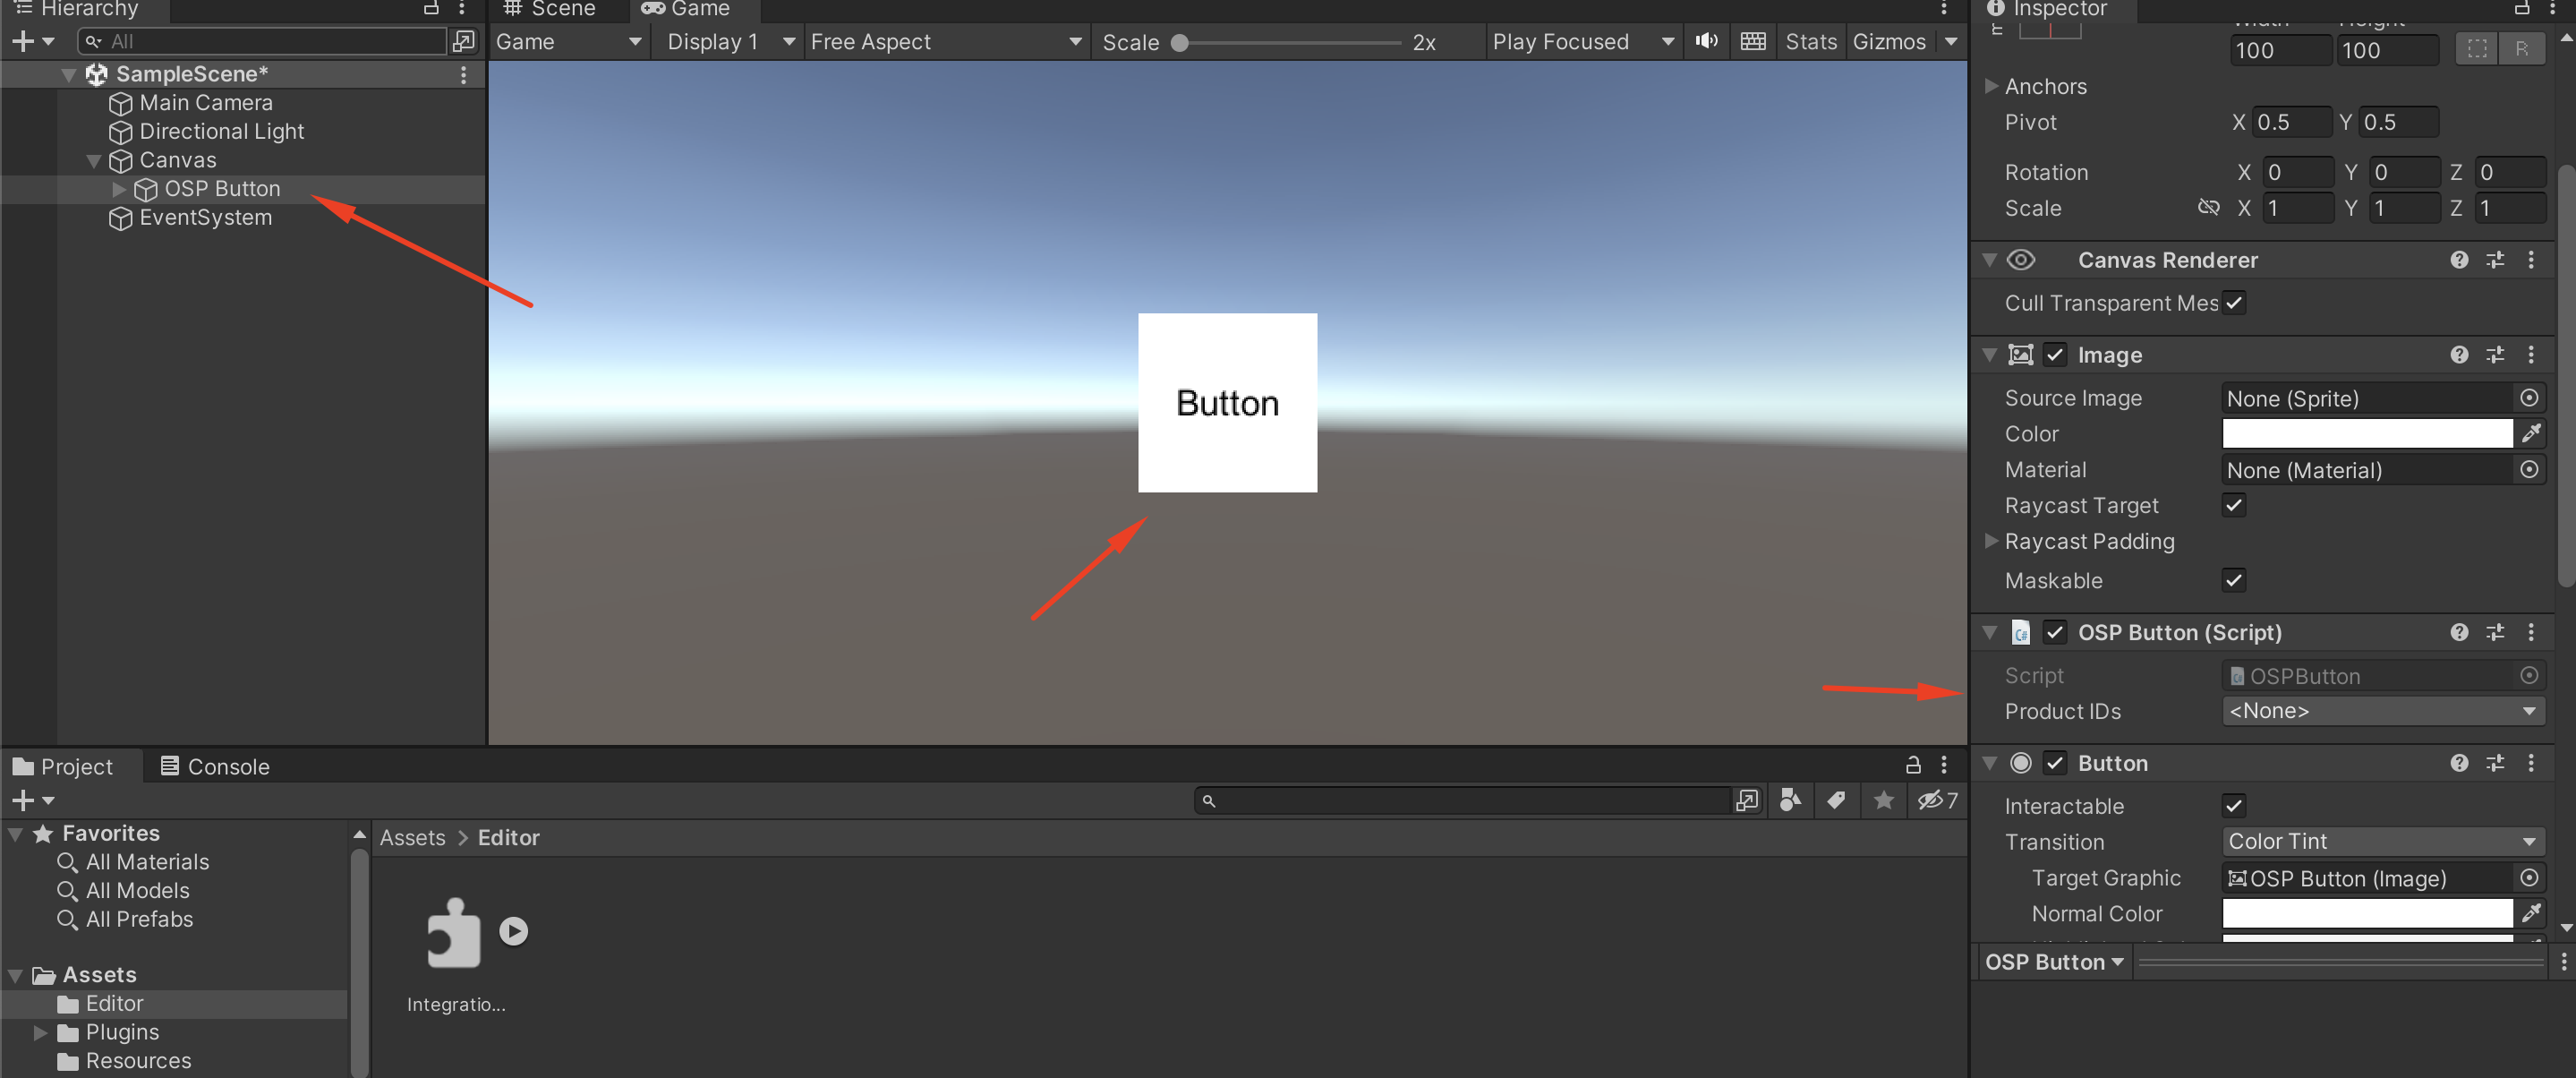
Add OSP Button
When you add a new OSP Button on the canvas you will see something like the image below. The button has a dropdown to choose the ID of the product being bought by the user.
Alternatively, you can add the OSP Button as a script to your already existing buttons.
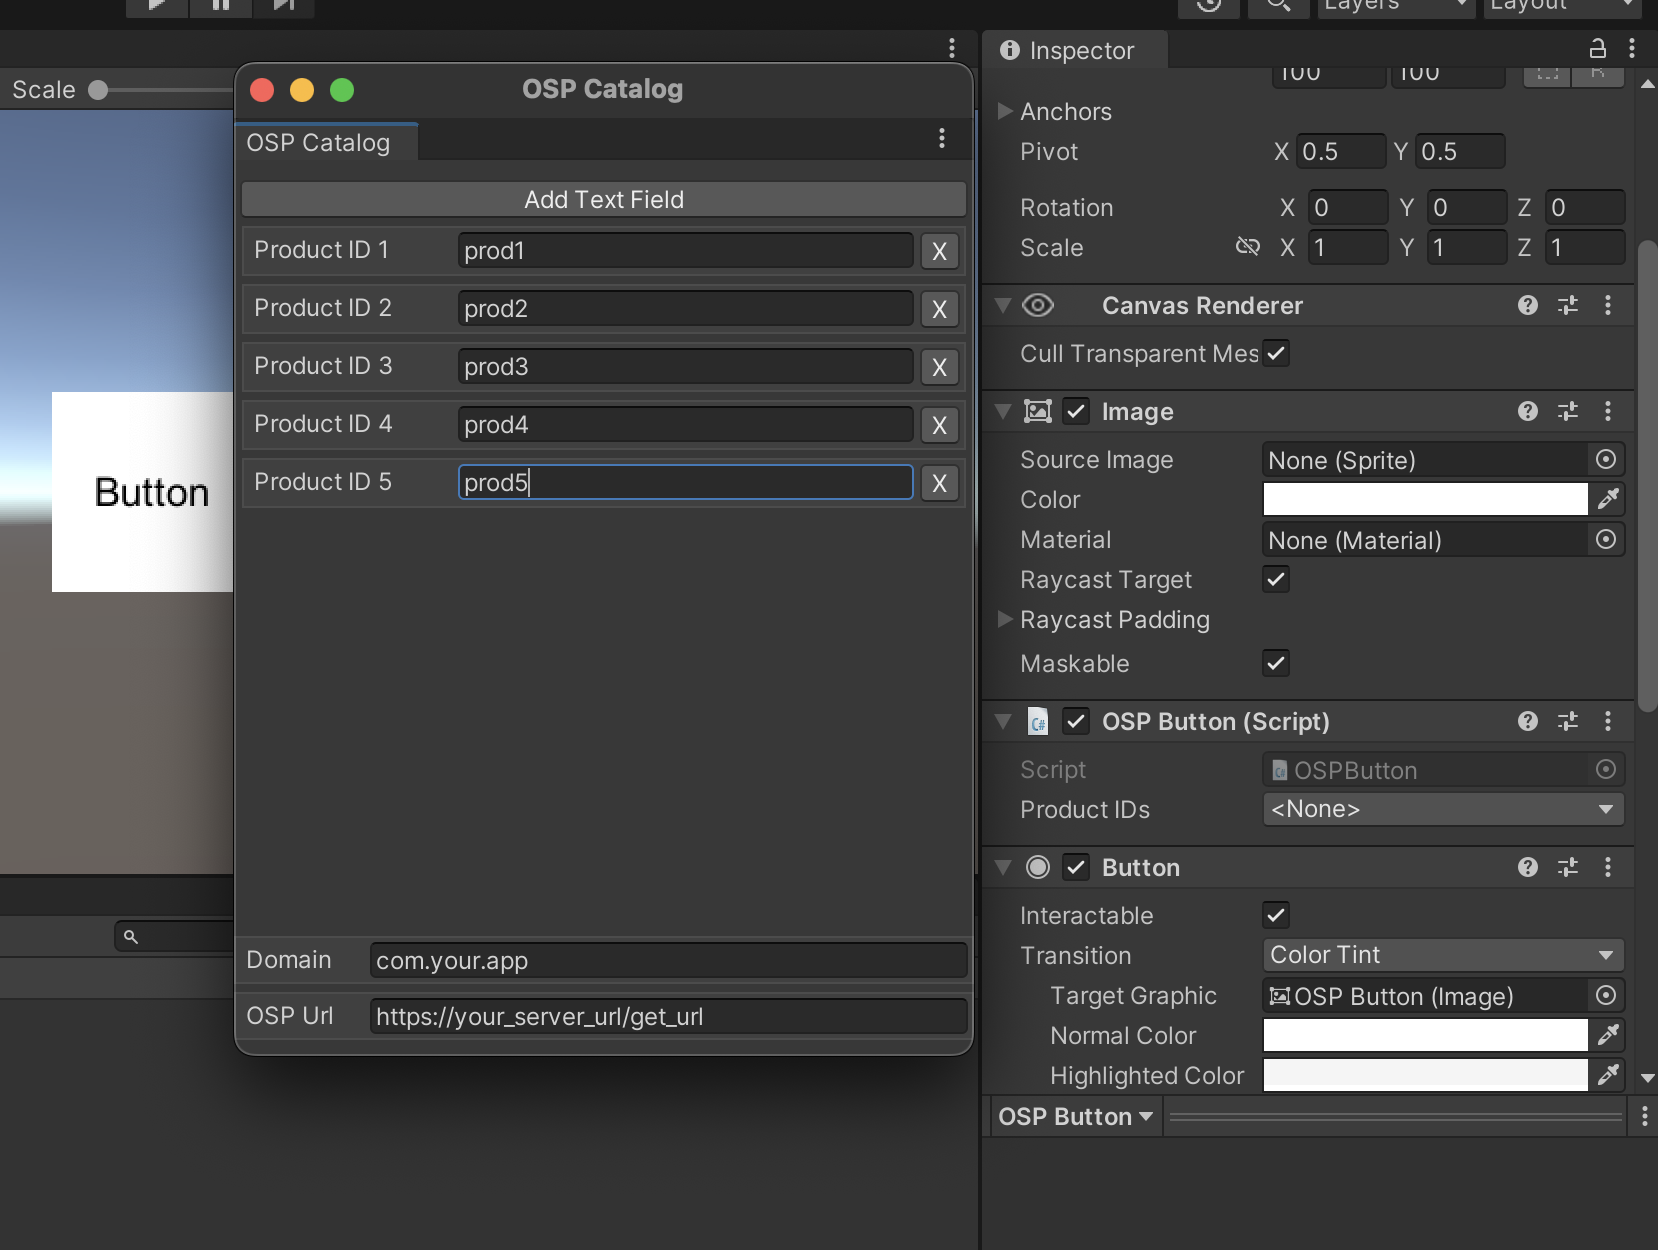
OSP Catalog
The OSP Catalog is where you can manage your product IDs and set your app domain and backend URL. You can see below what it looks like:
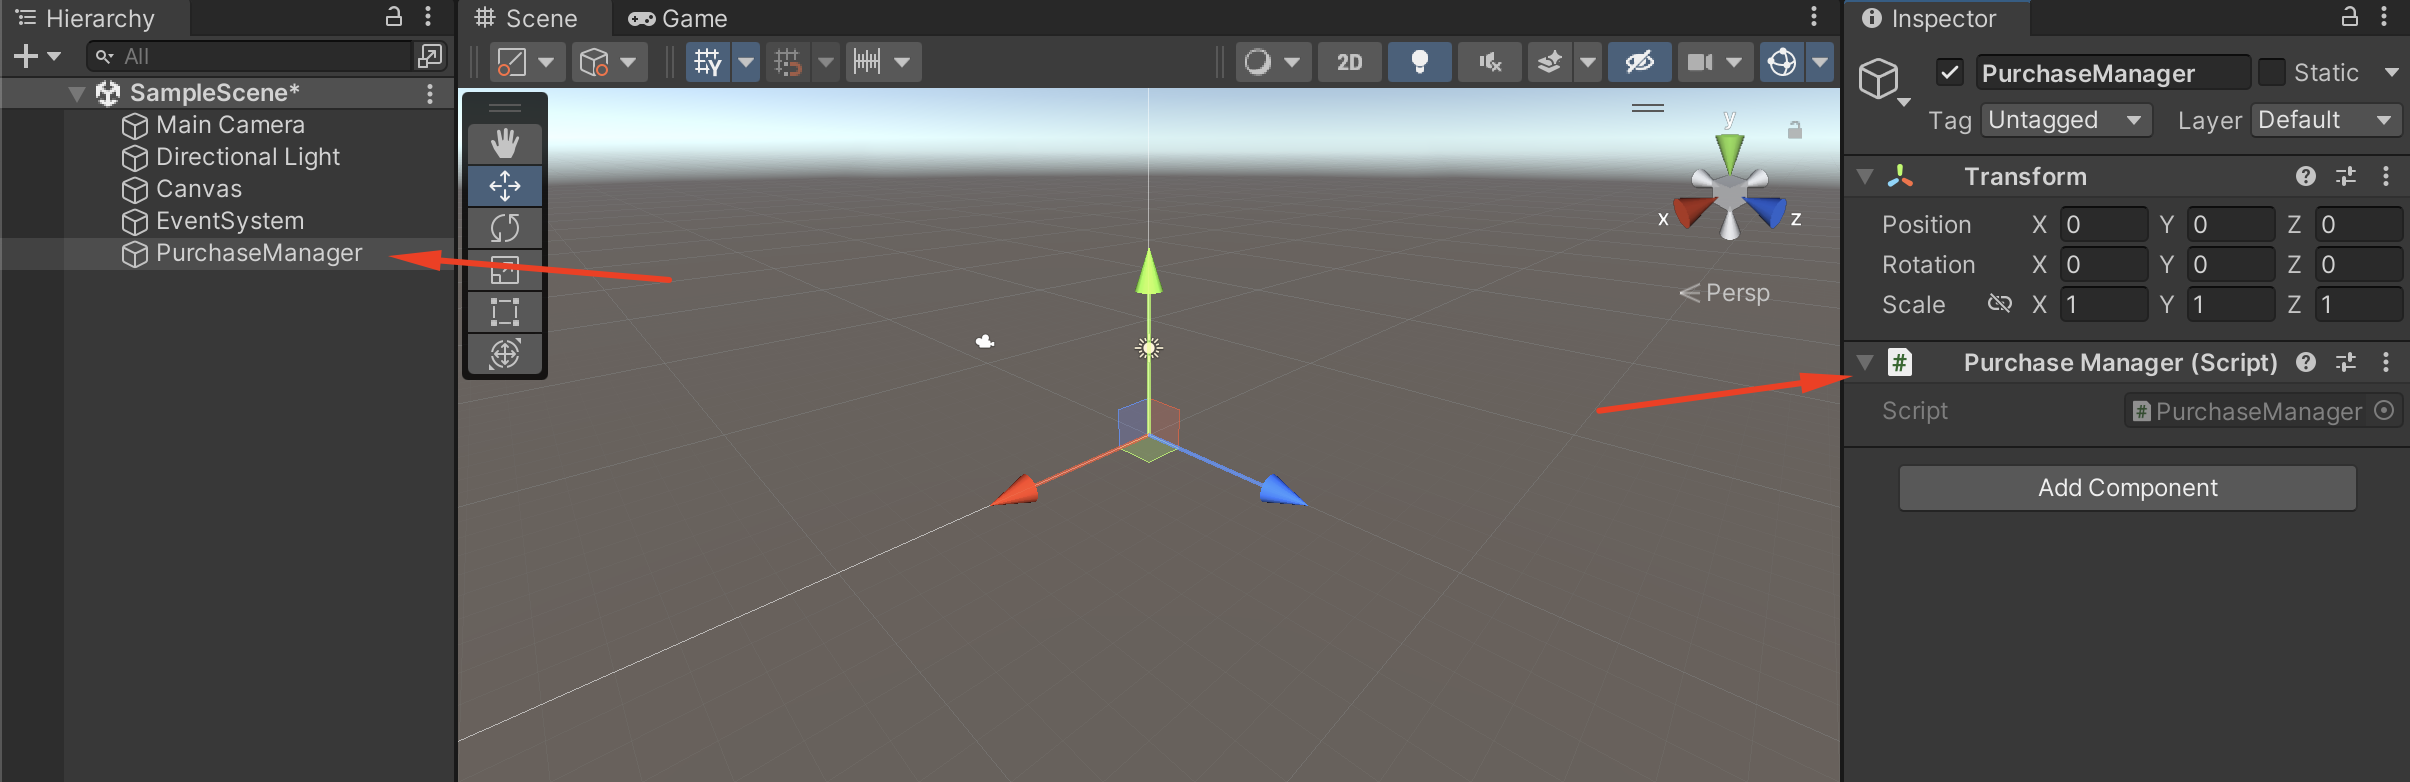
Purchase Manager
The Purchase Manager allows you to be notified when a purchase is completed by the users. When the wallet finishes the transaction, a message is sent to the PurchaseManager game object, which then executes a function. This function should be customized by you with the intended behavior. You should also create the PurchaseManager game object and associate the script to it.
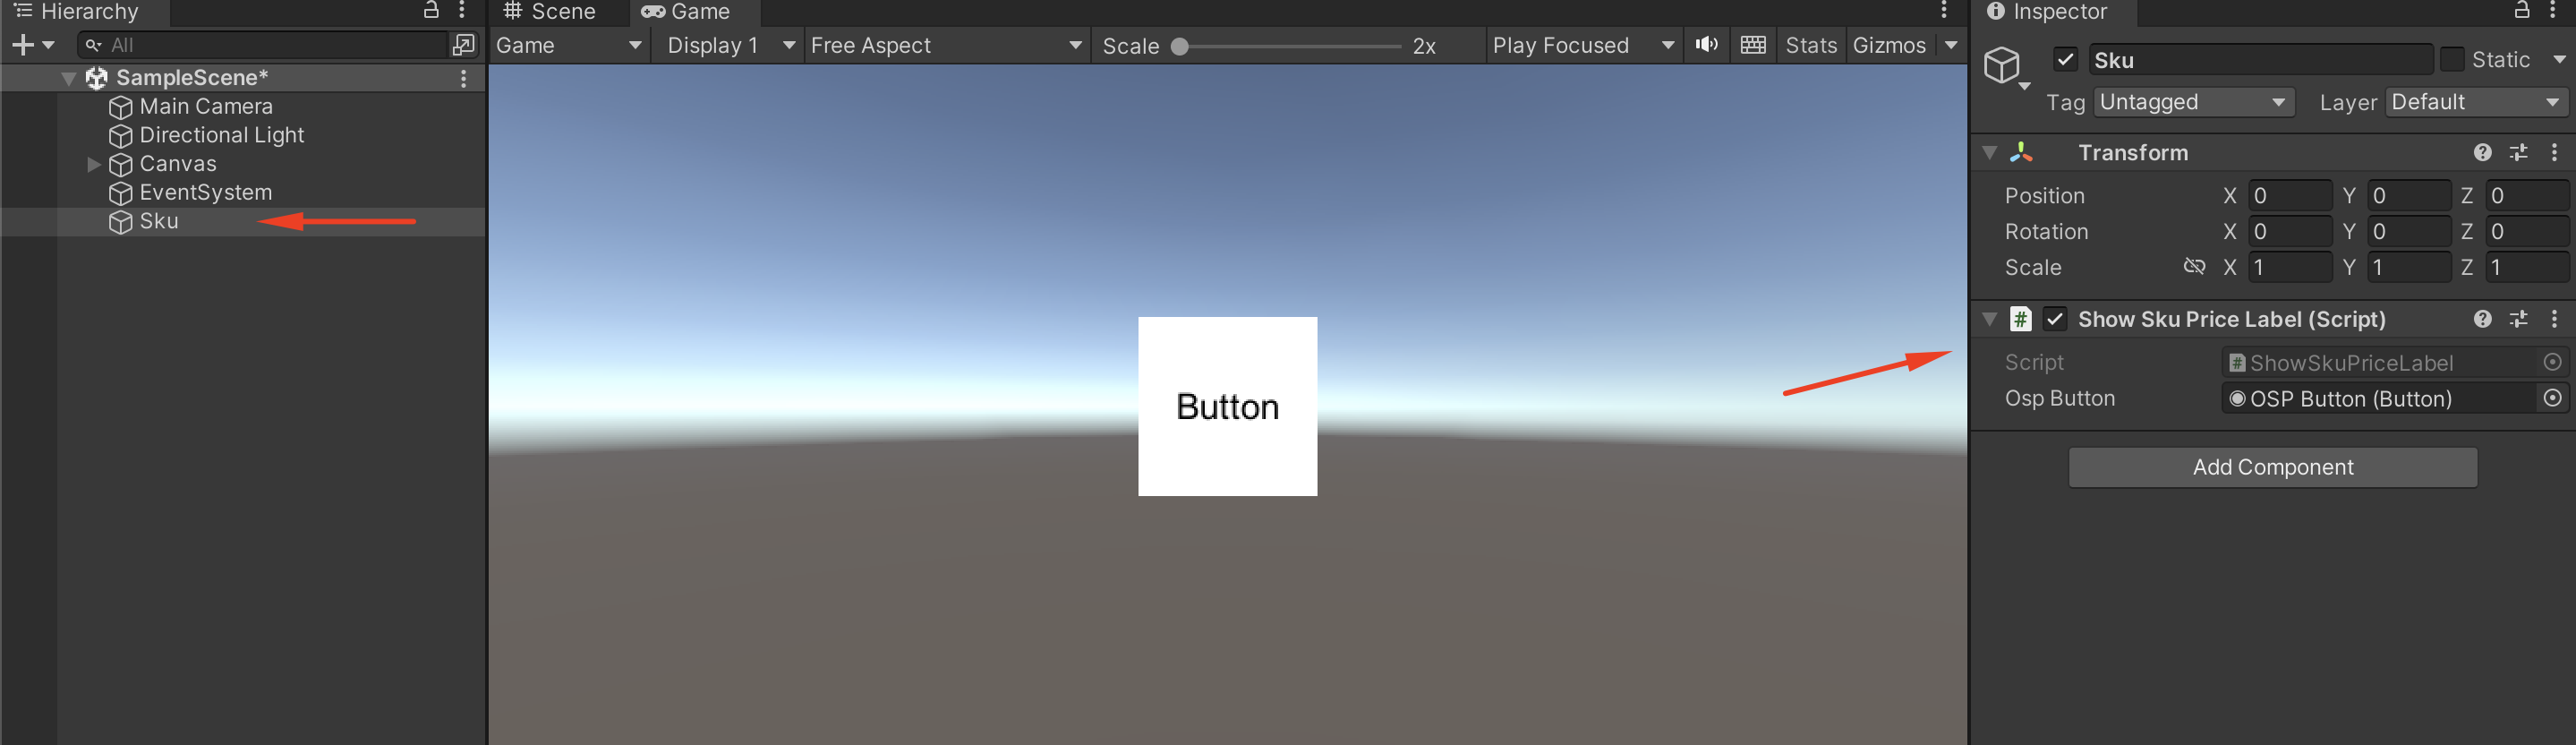
SKU Price
The ShowSkuPrice.cs script demonstrates the implementation of the GetSkuLocalPriceLabel function, which is present in every OSP Button. This function fetches the consumer's location-specific price from the Catappult website. It can effortlessly be used to showcase the price within the button or adjacent labels.
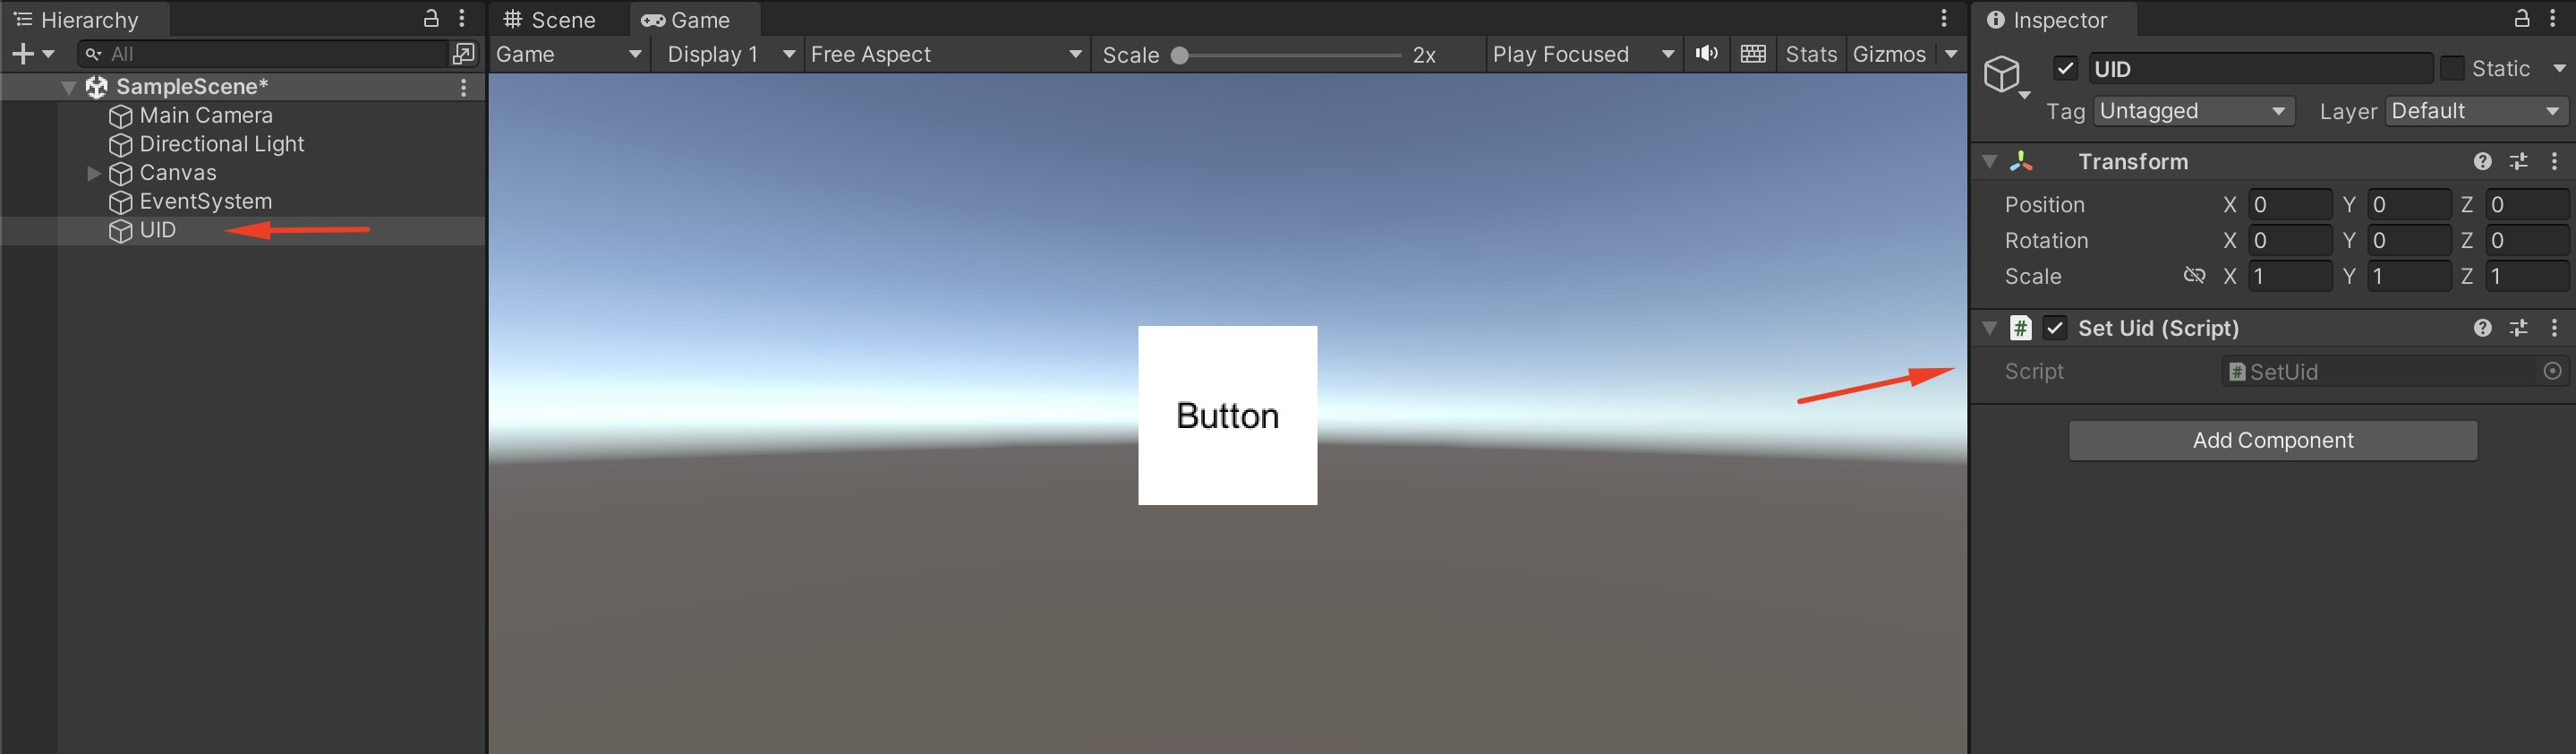
Set UID
Although the plug-in has a default UID generation method, it is also possible to set how you wish to generate your UID. To do so, you need to add the script SetUID to a game object and change the code to define your UID generation method.
Create your web service URL
In order to handle the buy requests you will need a web service that receives them and returns a callback URL. The code below is an implementation example using Python and FastAPI. You can read more about how OSP works here.
@app.get("/get_url")
async def get_url(product: str, userId: str = None):
    callback_url = "https://mybackend.com/callback"
    if userId:
        callback_url = f"{callback_url}?user_id={userId}"
    encoded_callback_url = urllib.parse.quote(callback_url, safe="")
    url = f"https://apichain.catappult.io/transaction/inapp?product={product}&domain=com.apptech.unity&callback_url={encoded_callback_url}"

    secret_key = b'YOUR_SECRET_KEY'
    signature = hmac.new(secret_key, url.encode("utf-8"), hashlib.sha256).hexdigest()
    return {"url": url + "&signature=" + signature}

@app.post("/callback")
async def callback(request: dict, user_id: str = None):
    print(request, user_id)
    return "OK"
The user ID variable is a parameter in the OSPButton script and is not defined by default. You need to define it with your own method of player identification.
public class OSPButton : MonoBehaviour
{
    [HideInInspector]
    public int popupIndex = 0;
    [HideInInspector]
    public string popupValue;
    [HideInInspector]
    public string serverUrl;
    private AndroidJavaObject activity;
    private string userId;
    private static int MATCH_DEFAULT_ONLY_ANDROID_PM =  65536;
  ...
Updated 4 months ago